Saturday, April 30, 2022

On my hook - granny stripe cardi

 
I am cardi obsessed. Definitely. 
Eva's is still in the make, but I have to make frequent stops for the measurements, and I can do that when she's at home, but she is a young girl living her best life, which means she is most often out, so I have to be patient and put my crochet on hold, until she is ready to try it on. But my hands cannot sit still, so I started a kids' granny stripe cardi to fill the time. It's progressing nicely, and I love how quick it is. 
 
Getting bitten by this cardi-bug, now I plan to make an adult version and today I bought the yarn for it. I love the looks of this color palette and hope these colors work together well to make an appealing garment. Monday being a day off (Labour Day), I am looking forward to a prolonged, crochet-filled weekend. 
I hope yours is fantastic too!
 

Friday, April 29, 2022

Granny Shapes Bundled Together - pattern release

We are having a prolonged (Labour Day) weekend and I am ready to finish up some colorful projects!  And tomorrow I am going to visit my favourite yarn shop, which makes me both giddy and excited! Can you believe that?! 
 
Meanwhile, I've bundled up my granny stripe shapes. The bundle consists of 5 patterns for a granny square, circle, rectangle, triangle and hexagon.It is  here.
 

Tuesday, April 26, 2022

Granny Stripe Circle - free pattern


The granny stripe circle is a lovely pattern to make mandalas, coasters, table(cloths) placemats, use for round cushions, and the list goes on if you have an adventurous and wild imagination. 
 
Here's how to make one.

Supplies:
* DK yarn in as many colors you'd like and a 4 mm hook 
* scissors and a tapestry needle for weaving ends
You may want to work ends/tails as you go. Learn how I do that here.
 
Stitches in US terms: chain (ch), slip stitch (sl st), chain space (ch-sp),  double crochet (dc).
Measurements of sample circle: 
 
Pattern
Foundation and round 1:  In color 1, ch4 (counts as 1dc+1 ch) and in last st from hook, d1, ch1 eleven times (12 dcs -we are going to retain this number in the next rounds as well). Sl st with first st to end round.
Round 2: Insert color 2 in ch-sp (any, I usually do it in the one before the last of round 1), ch3 (counts as the 1st dc) and dc1, ch1, and in next and all other ch-sps, dc2, ch1. Sl st with 1st st to end round. 
Round 3: Insert color 3 in ch-sp, ch3 (counts as the 1st dc) and dc2, ch1, and in next and all other ch-sps, dc3, ch1. Sl st with 1st st to end round. 
Round 4:  Insert color 4 and repeat round 3. (Repeat round 3 to increase the circle to your desired size.) Sl st with 1st st to end round.
Round 5: Insert color 5 in ch-sp, ch3, dc2, ch1, dc3. In next (and all other ch-sps) work this pattern: dc3, ch1, dc3. When last ch-sp is filled, sl st with 1st st to end round. 
Round 6: Insert color 6 in ch-sp, and repeat round 5. Work rest of tails. 
 
Hope you have fun!

Friday, April 22, 2022

Big Puffy Flowers - free pattern


Crop cardis with these enormous puffy flowers have been raging on tik-tok and instagram for quite a while. Must say I find them adorable, and wasn't at least surprised when Eva requested one for herself. The cardi is still in the works, but these babies are ready! They are so addictive; once I started I couldn't stop myself making them. 
If you are wondering what creative project to tackle this weekend - why don't make these?

Supplies:
* DK yarn in 2 colors of your choice and a 3.5 mm hook 
* scissors, tapestry needle (sewing needle and thread)
 
Stitches in US terms: chain (ch), slip stitch (sl st), chain space (ch-sp), yarn over (yo), half double crochet (hdc), double crochet (dc), elongated treble (fake treble - ft).  


Pattern:

Foundation and round 1: In color 1, ch6 and join to make a ring. Ch3 (counts as 1st hdc + ch1) and in ring, hdc1, ch1, 11 times (12). Sl st with 1st st to end round.


Round 2: We are going to make the puff petals. One puff is worked over two ch-spaces. Sl st into first ch-sp and ch4. Now we are going to work the "fake" or elongated treble: yo, insert hook into same ch-sp from the front, yo, draw yarn through and pull up to the same height of the ch4, yo, draw yarn through, yo, pull yarn up again and draw through two loops on the hook. Repeat this pattern until there are 4 fake trebles in this ch-sp (without the 4-chain). Leave these 4 as are and work 4 more fake trebles in the next ch-sp so there are a total of 8. When the last one is done, pull yarn through all and make a sl st. Next, ch3 and sl st again in the second ch-sp. One puff is done. Sl st into next ch-sp and repeat puff petal pattern. 


In the end, there will be 6 petals. When you finish making the last one (and you ended with a sl st), turn the flower upside done, insert hook from the center, yo, draw yarn and make a sl st. Cut thread and tie both beginning and ending tails together. Do not cut excess tails.

Flower head pattern: 

Row 1: ch5 and in the last st (further as: working stitch) from hook, repeat the fake treble pattern (as above) to make a total of 10 such fts (without the 5-chain). Pull through all and sl st. Ch3 and sl st again in the working st. Place flower head on top of the petaled flower with both tails at opposite ends. Pull tails through to get them at the back of the flower, tie both together, then tie again with petal tails. Cut excess tails. With this, the puffy flower is done.

Now, this tying technique will not secure the whole head, so you might want to use a regular sewing needle and thread to sew it onto. 
Drop me a question in the comments if you have any. 

The downloadable (paid) pattern is here.

Tuesday, April 19, 2022

Crochet Ramblings - Granny rectangles


This is a project that didn't live to grow up. I made these granny rectangles with the idea to expand them to the size of an Easter table runner (and maybe placemats as well), but adding these chicks and eggs  around it somehow didn't click well with me, so I dropped the idea altogether. 
 
They are dormant at the moment (or my brain is, to be more exact), but I am willing to dream up something else with them, because they are just too cute to be left like this. I hope you had a lovely Easter and many successful projects!


Saturday, April 16, 2022

Granny Rose Pouch - pattern release


Maybe you remember the granny pouch I made last month. Well, let me tell you it has a sister, and this time it's blue. This one is a little bit different from the first one and less complicated to make. 
The best effect to make these is to use three shades of the same color. The previous one is more vibrant and eye-catching than this one, but I love it nevertheless. 
 
The pattern is in my shops: etsy, ravelry

Wednesday, April 13, 2022

On my hook - Granny Stripe Poncho

I have always wanted to make myself a crochet poncho, but never got round to do it. On my last visit to the yarn shop, I saw this beautiful yarn by La Vita yarns (no affiliation) that felt amazingly soft to the touch, and right then and there, I decided they are the ONE for my long-wished poncho.
 
And I couldn't have made a better choice! The yarn is amazing and when I tried it on, it felt spectacularly soft, snug and warm. I even paraded around the house with it, showing it off to my family, not being able to contain my delight! 
 
I think it's the perfect thing for this season when it's quite chilly in the evenings and mornings. I would have chosen pastel colors for my poncho, but there were none from this producer in the shop. The yarn shop owner has such a terrible taste in colors, I wonder how he manages to sell anything. However, these are a true gem, and I am satisfied with my earthen tones :)
 

Monday, April 11, 2022

Tiny Embroidery on Crochet

Back in the time when I was a kid, we didn't have internet, so instead of burying our heads into phones like today's kids, we buried them into craft projects.  
Embroidery, needle point and cross-stitch were my first love, and I return to them dearly even today. 
I was around 7-8 when I started my first project, which was a gobelin of a bunny (I still keep it!). I made a couple of pillow cases and several tablecloths.  As I grew up, my interests changed and  I started embroidering on clothes (blouses/ dresses/ jackets mostly). That transferred to embroidering crochet pieces. 
 
Using a crochet piece as a canvas is no easy task, especially when taller stitches are used, like in the case of my baby dress above, which is the my latest embroidery on crochet. It is quite small and simple consisting of French knots and lazy Daisies. 
 
I am eager though, to try embroidering enormous flowers trending right now. Quite curious how that would turn out. 


Saturday, April 9, 2022

Easter Chicks & Eggs Appliques - free crochet pattern


Are you decorating for Easter? I have some cute chicks and eggs appliques ready to attach to Easter baskets. I cannot wait to see my little nephew's face when he sees these!

Before I share the pattern, please note that: The written  pattern in its entirety along with the photos are for personal use only. All property rights belong to Maya Kuzman of The Little Treasures.
 

Yarn and hook: sport yarn of your choice and colors (I love working with Phil Cotton #3 and Tango) and a 3 mm hook (UK11) (US 10/3).

Stitches (American terminology): chain (ch), slip stitch (sl st), single crochet (sc), half double crochet (hdc), double crochet (dc)5-dc cluster.

Other: tapestry needle for weaving ends, scissors, and seed beads for eyes, sewing needle and thread for sewing the eyes.

Easter Chick Pattern:

Foundation and round 1: Ch4 (counts as 1dc + foundation chain) and in 1st st of that chain, dc9. Ch3 (counts as 1st dc) and turn work (10).

Round 2: dc1 in 1st st, then dc2 in all (20) The body is done. Ch4 and turn work.

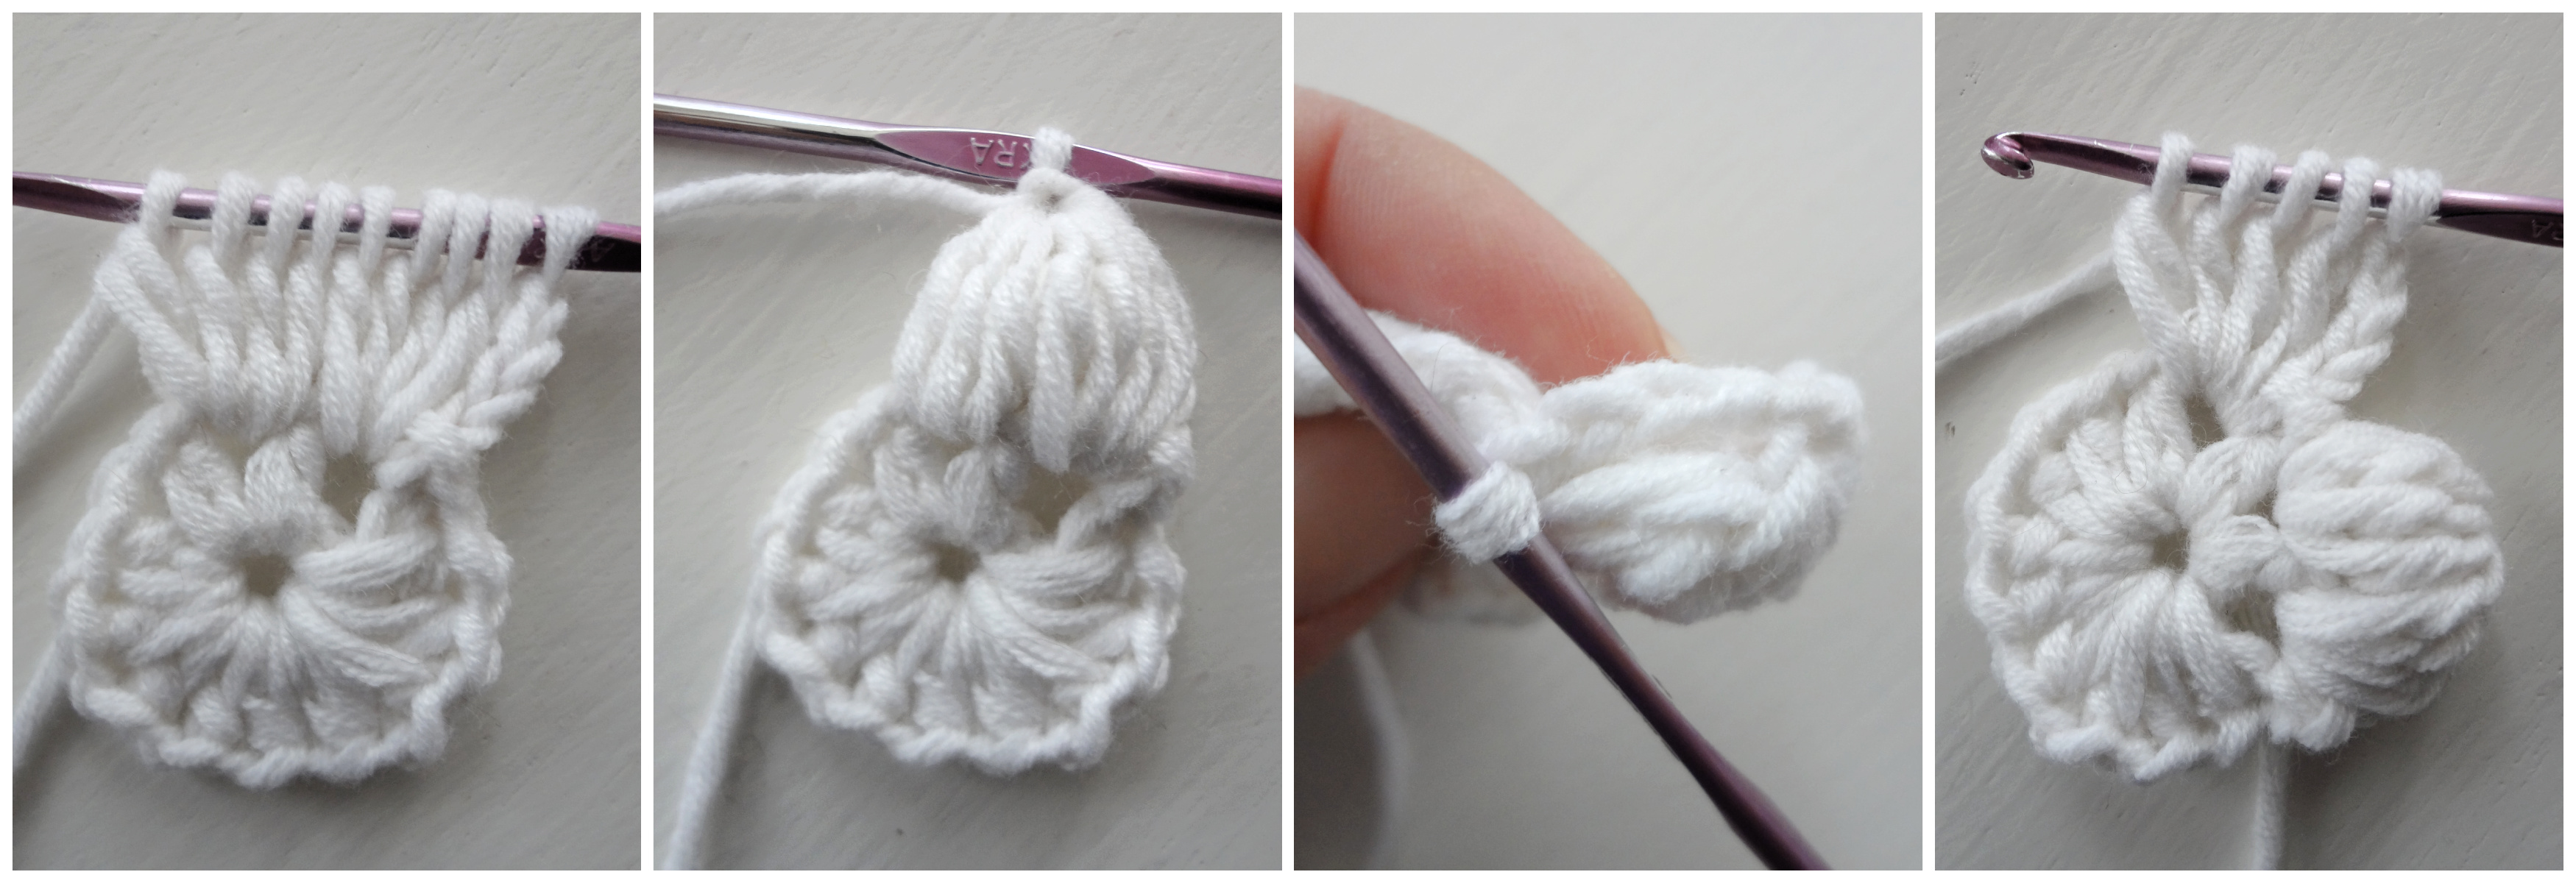
Head/beak: In 1st st make a 5dc-cluster. Ch6 and sl st in 3rd st of that chain (the beak is done) and sl st in the stitch where you made the cluster.


Tail: Turn the chick with the back side up and insert yarn into the second stitch of the chick’s behind. Ch5 and sc1 in next st. Ch6 and sc1 in next st. Ch5 and sl st in next st.

Comb and wattle: Insert (red) yarn at the top (cluster) st and ch3. Sl st in same st. Ch4 and sl st in beak chain space, ch3 and sl st in same ch-sp again. The comb is done. Insert yarn under the beak, ch3, sl st in last st from hook, sl st in same st where you inserted the yarn. The wattle is done. Work all tails. Sew a seed bead for eye. 


Big Easter Egg pattern:

Foundation and round 1: ch4 and dc11 in first st of that 4-chain (12). Sl st with 1st st to end round.

Round 2: Ch2 (counts as 1hdc) and dc1 in same (first) st. Tr1 in next st., dc1 and hdc1 in next st. Next, hdc1, sc1 in next 2 sts., sc2 in next 3 sts.,sc1 in next 2 sts., hdc1 in last. Sl st with 1st st to end round (17). Work tails.


Small Easter Egg pattern

Foundation and round 1: ch3 and hdc11 in first st of that 3-chain (12). Sl st with 1st st to end round.

Round 2: Ch2 (counts as 1hdc) in 1st st. Dc1 in next st., hdc1 in next st. Next, sc1 in next 3 sts., sl st in next 3 sts., sc1 in next 3 sts. Sl st with 1st st to end round (12). Work tails.


You can use these appliques to decorate Easter baskets sew onto bags, hats, little kids' clothes, or use as hanging decorations.


This pattern is also included in my Easter Bundle on etsy
Happy weekend!