Saturday, December 21, 2013

Crochet Mistletoe and Holly - free pattern


Hi guys!

So today being the shortest day and the first day of winter I thought we can celebrate with a free and gorgeous photo-tutorial.

In order to save some space here and of course, dedicate this Saturday afternoon to my family, I will post only the written pattern here, while the whole photo tutorial can be downloaded for free from my ravelry page here. Enjoy it!

Holly and Mistletoe Crochet Pattern

Leaf (Holly):


Chain 12, 
In 2nd ch from hook sc 1, hdc 1, dc 1, picot, dc 1, picot, tr 1, picot, dc 1, picot, dc 1, picot, hdc 2,  sl st 2. 
To continue the next side of the leaf, chain 1 and repeat the pattern starting from the 2 slip stitches (i.e. crochet the pattern backwards).


Leaf (Mistletoe):


Chain 12,
"Sc in 2nd st from hk, hdc in the rest of the st"
When you come to the end , chain another round of 12 for the next leaf. Repeat the pattern from " to ". End by making 1 chain and one sl st in the first stitch of the first leaf.

Berry: 


For the berries, chain 5 and join to make ring.
Then sc 6 in ring.

Round 1: sc 2 in each stitch (12)

Round 2: sc 1 in all stitches (12)   

Round 3: sc 1, sc2tog (8) 
Fill the bead / berry.
Round 4: sc2tog (4)
Pull yarn, tie a knot and weave tail.

That’s it.


This is a truly captivating pattern. Not only can you use it to decorate your home for the holidays, but you can make Christmas decorations with it, use it as applique or brooch, attach to headbands or bags or even make barrettes for  the little girls.

Friday, December 20, 2013

Crocheted Snowflake Pattern


I have had these on my computer for more than two months and it is funny that I actually sat down to finish the tutorial in the nick of time. Too late,perhaps?

I am in love with both patterns - they can be made in a matter of minutes and their use is unlimited - from Christmas / winter decor, to applique, ornaments to clothes adornment and scarves.  

Current favourites with us?  The mohair snowflakes!


Tuesday, December 17, 2013

Crocheted Bow Necklaces


One of the tutorials given here was this for the Bow Necklace. I love this project simply because it can be done in a matter of minutes, and with the hectic tempo of life I have at the moment, this really comes in handy - especially when I have to whip up gifts.

I will also use them for  gift wrapping - it'll give the boxes a nice touch.


Monday, December 16, 2013

Patcworked scarf - mori and kawaii inspired


I cannot tell you how long I wanted to make this scarf for myself.  It is inspired by mori and kawaii fashion I am so obsessed by lately. Since the moment I first saw the one which served as inspiration I knew then and there that I have to make something similar. (I'll share the inspiring one in another post).

For the scarf I took out all the fabric I had in matching colors and designs, I added a splash of crocheted flowers, a sprinkle of vintage lace and ruffles for good measure and a pinch of beads. I lined it with jersey. For the front I used linen, cotton, corduroy and jersey. It is pretty wide and quite long. Feels great wrapped around my neck :)

Since I was in the mood for patching, I made another one the same day but in different fabrics and colors. I will show it soon.


Thursday, December 12, 2013

On gifts giving and gifts receiving


 The rings shown here on the tubes are great stocking fillers and perfect for gifts to girls of all ages especially adult ones with youngish spirit :) 

Good thing to have something checked off on the "Gift list". Sometimes I find this period quite stressful especially when behind with the gift making and buying. 

Earlier today I was interviewed by the "press" students for the school newspaper and one of the questions was what I want the most to be given for Christmas, to which I replied "Books". One of them  (who by the way admires the crocheted pieces I wear at school) looked me in amazement and said: "And no hooks or needles?" Well, no, thank you. I have them coming out of my ears already. 

The other was where I would love to go to celebrate New Year's Eve (implying somewhere abroad and most probably exotic) .  I wouldn't / will not go anywhere. For fourteen years now, we have been celebrating it at home with either friends and / or family and I wouldn't change that for anything.  
  
What about you? What's the thing you want to receive as a gift and how do you celebrate the New Year's Eve? 


Wednesday, December 11, 2013

Vintage Doily Necklace - Last Minute gifts


I love receiving handmade gifts - not that I don't like the commercial ones, but handmade really strikes a cord with me - it's more personal and emotional. 

What  I am writing about today is making a heirloom gift, something that was made from the heart and given to be treasured for years. 

For my project I collected the doilies I had from my husband's grandmother who was as masterful in crochet as my own grandmother, and played to get the most desirable look. I wanted to preserve these and thus opted for a necklace - a great heirloom which I can pass onto my daughter in years to come.
Now if you want to make a necklace I would suggest small doilies - you can use even one if you think it fits the purpose.

The selection you see here is more appropriate for applying to a plain shirt or a tee.  I couldn't resist playing and styling different looks.


 For the necklace I had two options and as you see from the intro picture I chose the former.


In order to join the doilies together you can sew along the edges, but I decided on joining them with jump rings, because once sewn it would be very hard to unstich them later in case you are tired with the necklace and want to use them in another project. 


I marked the alignment and position of the jump rings which is crucial for the position of the doilies. You don't want them sloppy and hanging.

Then instead of crocheting the ties I added a metal chain and my necklace was ready.


This is a really quick project if you have already made doilies and it is the perfect last minute gift which your loved ones would really appreciate.

Monday, December 9, 2013

How to Crochet Beads - A PDF Pattern


I worked very hard to make this tutorial and I am sure I made a worthy compilation.
 
Why crochet beads?
The answer is quite simple.
With your own crocheted beads you don’t have to worry if you have the right size or the right color for your project. You can make them in any size, any shape, any color. They are cheap – you can use leftover yarn, or simply unravel a no longer needed sweater or potholder and there’s your material for new beads.
This tutorial is a compilation of crocheted beads I have been making to create my crocheted jewelry and accessories. They come in all the basic shapes, but I might say “a shape with a twist”

The PDF file contains elaborate photo - tutorial with more than 100 pictures and 44 pages.

The content:

1. Introduction
2. List of supplies
3. Round / Circular Beads
4. Mini Doilies
5. Ovals / Teardrop Beads
6. Diamond Beads
7. Triangular Beads
8. Bow Necklace
9. Rectangular Beads
10. Twisted Rectangular
11. Wool/ Yarn beads  

This picture shows the beads (and some projects) included inside.


 Contact me with questions.

Saturday, December 7, 2013

Diamond Beads .... coming soon


I have been working on a bead collection so swooning I am overexcited and can't wait to share. Stay tuned.

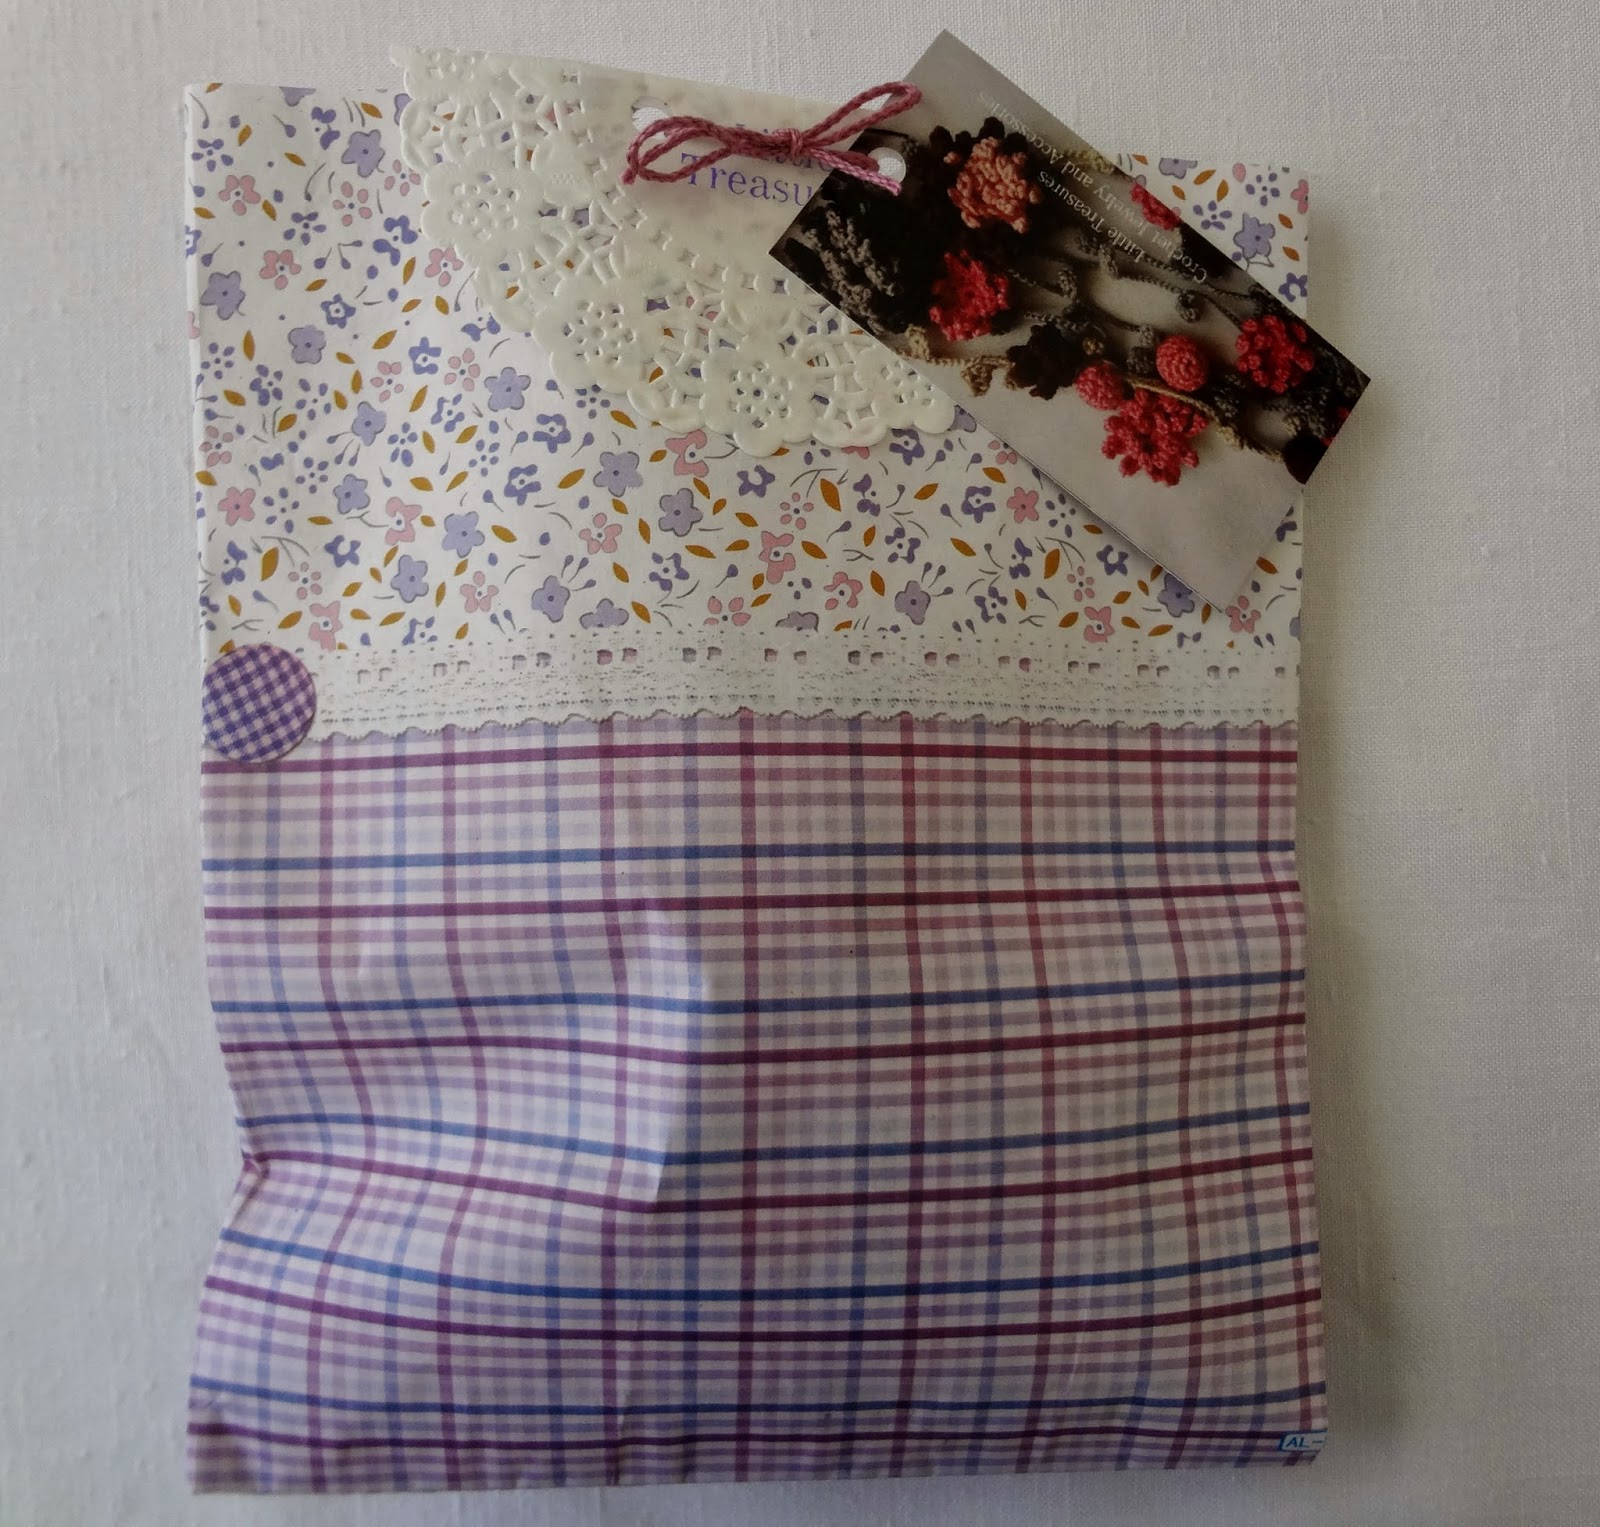
DIY Paper Gift Bags - tutorial


With Christmas being around the corner, I want to share a DIY Gift Paper Bag idea, something I have been using for more than a year now to make my own bags.
It's pretty inexpensive, contains the ecological element in itself (if you use recycled paper) and is as cute as a candy.


What you need:
1. Gift wrapping paper or if it is a small project you can print your own designs on A4 paper or use some free printables.
2.  Paper doilies
3. Clear glue
4. A puncher and scissors
5. Not shown (but necessary): thread, ribbons, decorations, cards 
               

 Measure how much of the paper you are going to need. Put your gift on the paper and fold the ends over it to see how big your bag is going to be. Cut it out and fold to see if all edges are equal.


Fold the edges (2 mm / 0.8") all around.


Apply the glue but only on one of the sides and bottom (marked). 

 Fold and press going over the edges with your finger so that it is well glued. 


Next, I love to add a simple but effective and attractive touch in a form of a paper doily.


 Fold the doily over the bag and punch holes through both the doily and the bag.


Remove the doily, place your gift inside. Put the doily on back again, tie it with a decorative ribbon, thread or whatever you have at hand. You can attach your card on it or some small decoration. And that's it.


I love this project because I can make the bags in any size I need at the moment, in as many designs I want and it can be done in a matter  of minutes!

Tuesday, December 3, 2013

11 Free Vintage Patterns (an e-book)

Hello everyone,
Today I have some great news for all of you who like sewing vintage clothes.


The editor of  All Free Sewing, Anne Rosean contacted me with a wonderful proposal to contribute my Scarf -tee tutorial for their e-book project. I am very thankful for being honored and included in their e-book which you may find for free download here.

From this perspective I would have made the tutorial totally different. But I can always re-do it in the future, can't I?

If you like to see my scarf-tee, the tutorial is here
 

Enjoy the book!

Sunday, December 1, 2013

Crocheted Bib Necklace Pattern


I have a new pattern (photo tutorial) made for these lovely bib necklaces.

Information about the tutorial in more elaborate detail given here.